


Showcase
Proud projects that make us stand out
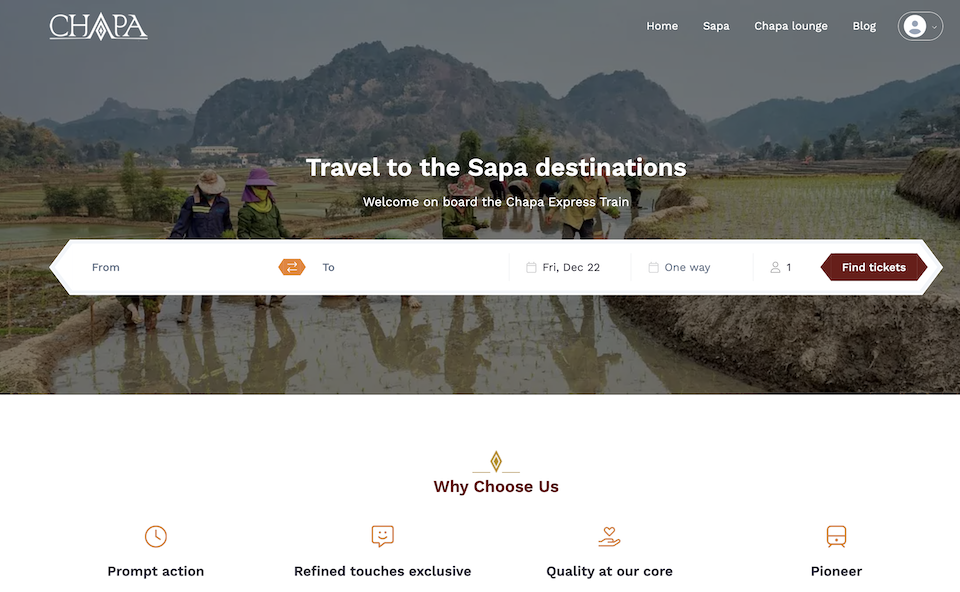
Chapa Express Train
Transportation
The Chapa Express Train is one of the luxury trains in Vietnam, thay apply digital transformation to their business, including online booking and backoffice management
View case study →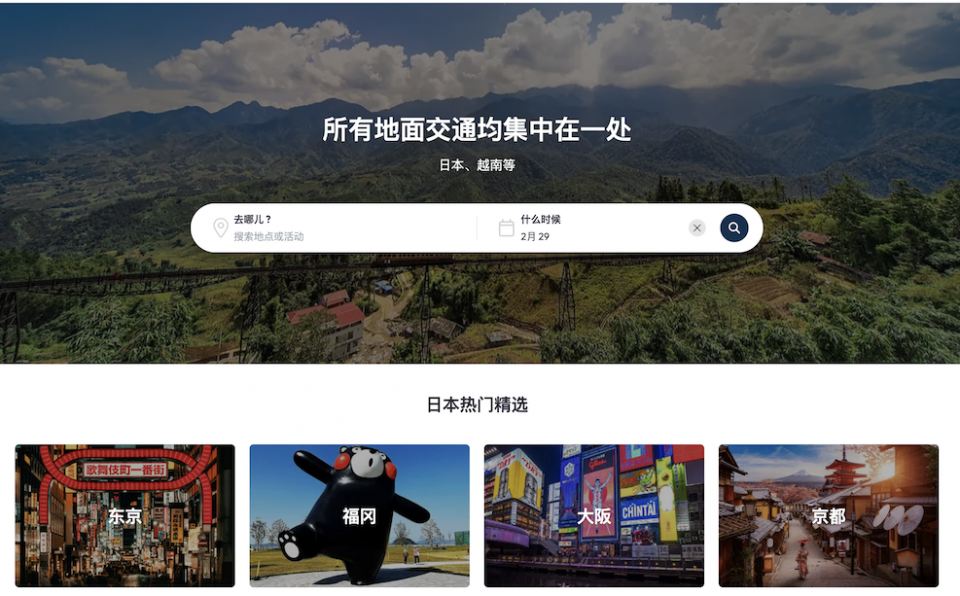
Kapanda
Travel
Kapanda is a marketplace tour booking website that enables travelers to book tours, transfers, and tickets for their travel worldwide.
View case study →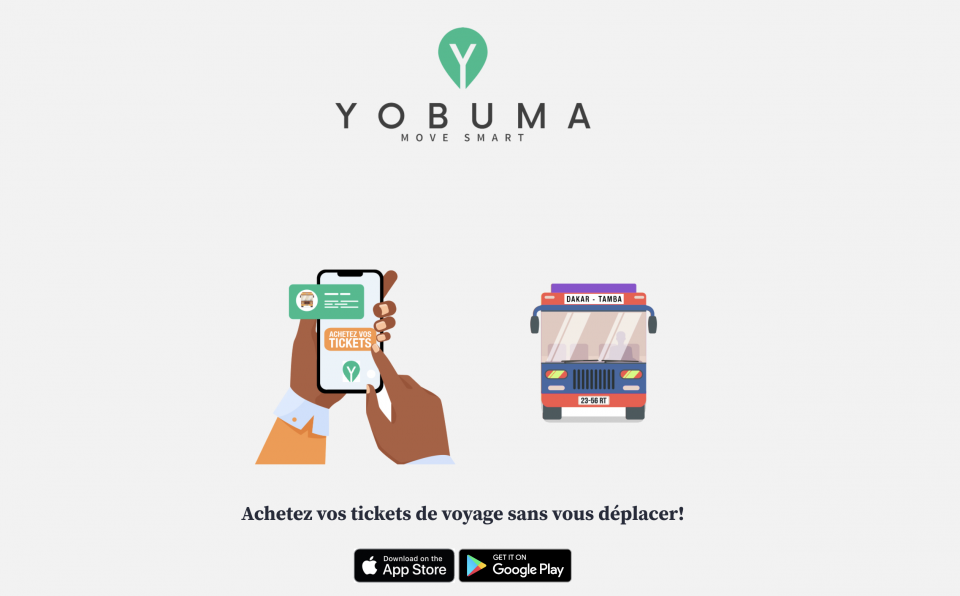
Yobuma
Tourism
Yobuma is a leading transportation booking app in Senegal with 200K+ users and a thousand bookings per day.
View case study →